Contents
Part One: What They Are, The Benefits, and Building with Screaming Frog
When having a conversation about XML sitemaps (it’s more exciting than you think), it’s pretty common to think about a style-less page within a website containing all relevant links on it so that search engine robots can more intelligently “crawl” the site, making it easier for them to include you in SERPs. This is an integral part to search engine optimization, as sitemaps serve as a way to communicate directly with search engines, notifying them of new or changed website content to ensure that it is indexed correctly, and timely.
So we know the benefits of having an XML sitemap for web pages, but what about images? Another important part of SEO is optimizing images with appropriate alt text and file names, so shouldn’t we make sure that the same robots that are crawling our website and helping show up in search engines are doing the same for our images in image search engines (ex. Google Images)?
Well, that’s where image XML sitemaps come into play.
What Is an XML Image Sitemap?
Much (exactly) like sitemaps for web pages, sitemaps for images are style-less web pages that live on a site with several links listed on it. However, instead of showing information like a URL, the last modification date, the crawl frequency and priority like on traditional sitemaps, image sitemaps can communicate to robots:
- The type of image
- The subject matter
- Image alt text
- An image title
- A geographic location
- Etc.
Images can be added to an existing sitemap, or you can create a specific sitemap for the images on your site – the choice is entirely up to you. Personally, I prefer to go with the latter because there is an abundance of free third-party software that you can easily use to generate several kinds of sitemaps.
The Benefits of an Image XML Sitemap
Image sitemaps are incredibly useful if you want your images to show up in Google Image search results, and you do want this. Google receives hundreds of millions of image-related search queries every day. Now, if you own a plumbing, construction, or a kind of business where lots of images might not be found on your website, this fact might not mean a lot to you. If on the other hand, you own an e-commerce or other business where images are a key part of your website, I probably just caught your attention.
E-commerce companies are known for having websites that are especially image-rich. If this sounds like you and the images on your website are a) not optimized for organic search and/or b) not included in an XML image sitemap, there is a very good chance that you’re missing out on valuable traffic that you deserve. Not good!
If images make up a large portion of your website, either from product galleries or other resources, I strongly recommend incorporating an image XML sitemap.
Creating An Image XML Sitemap
Here at Treefrog, we use Screaming Frog SEO Spider, a tool provided by Screaming Frog that collects website data and identifies technical issues that could be detrimental to your SEO efforts. To follow along, I recommend you download a free copy of Screaming Frog SEO Spider.
Step One: Getting Comfortable with Screaming Frog
At first glance, the Screaming Frog SEO Spider dashboard can be somewhat intimidating, but not to worry because creating XML sitemaps doesn’t take more than a few clicks of the mouse.
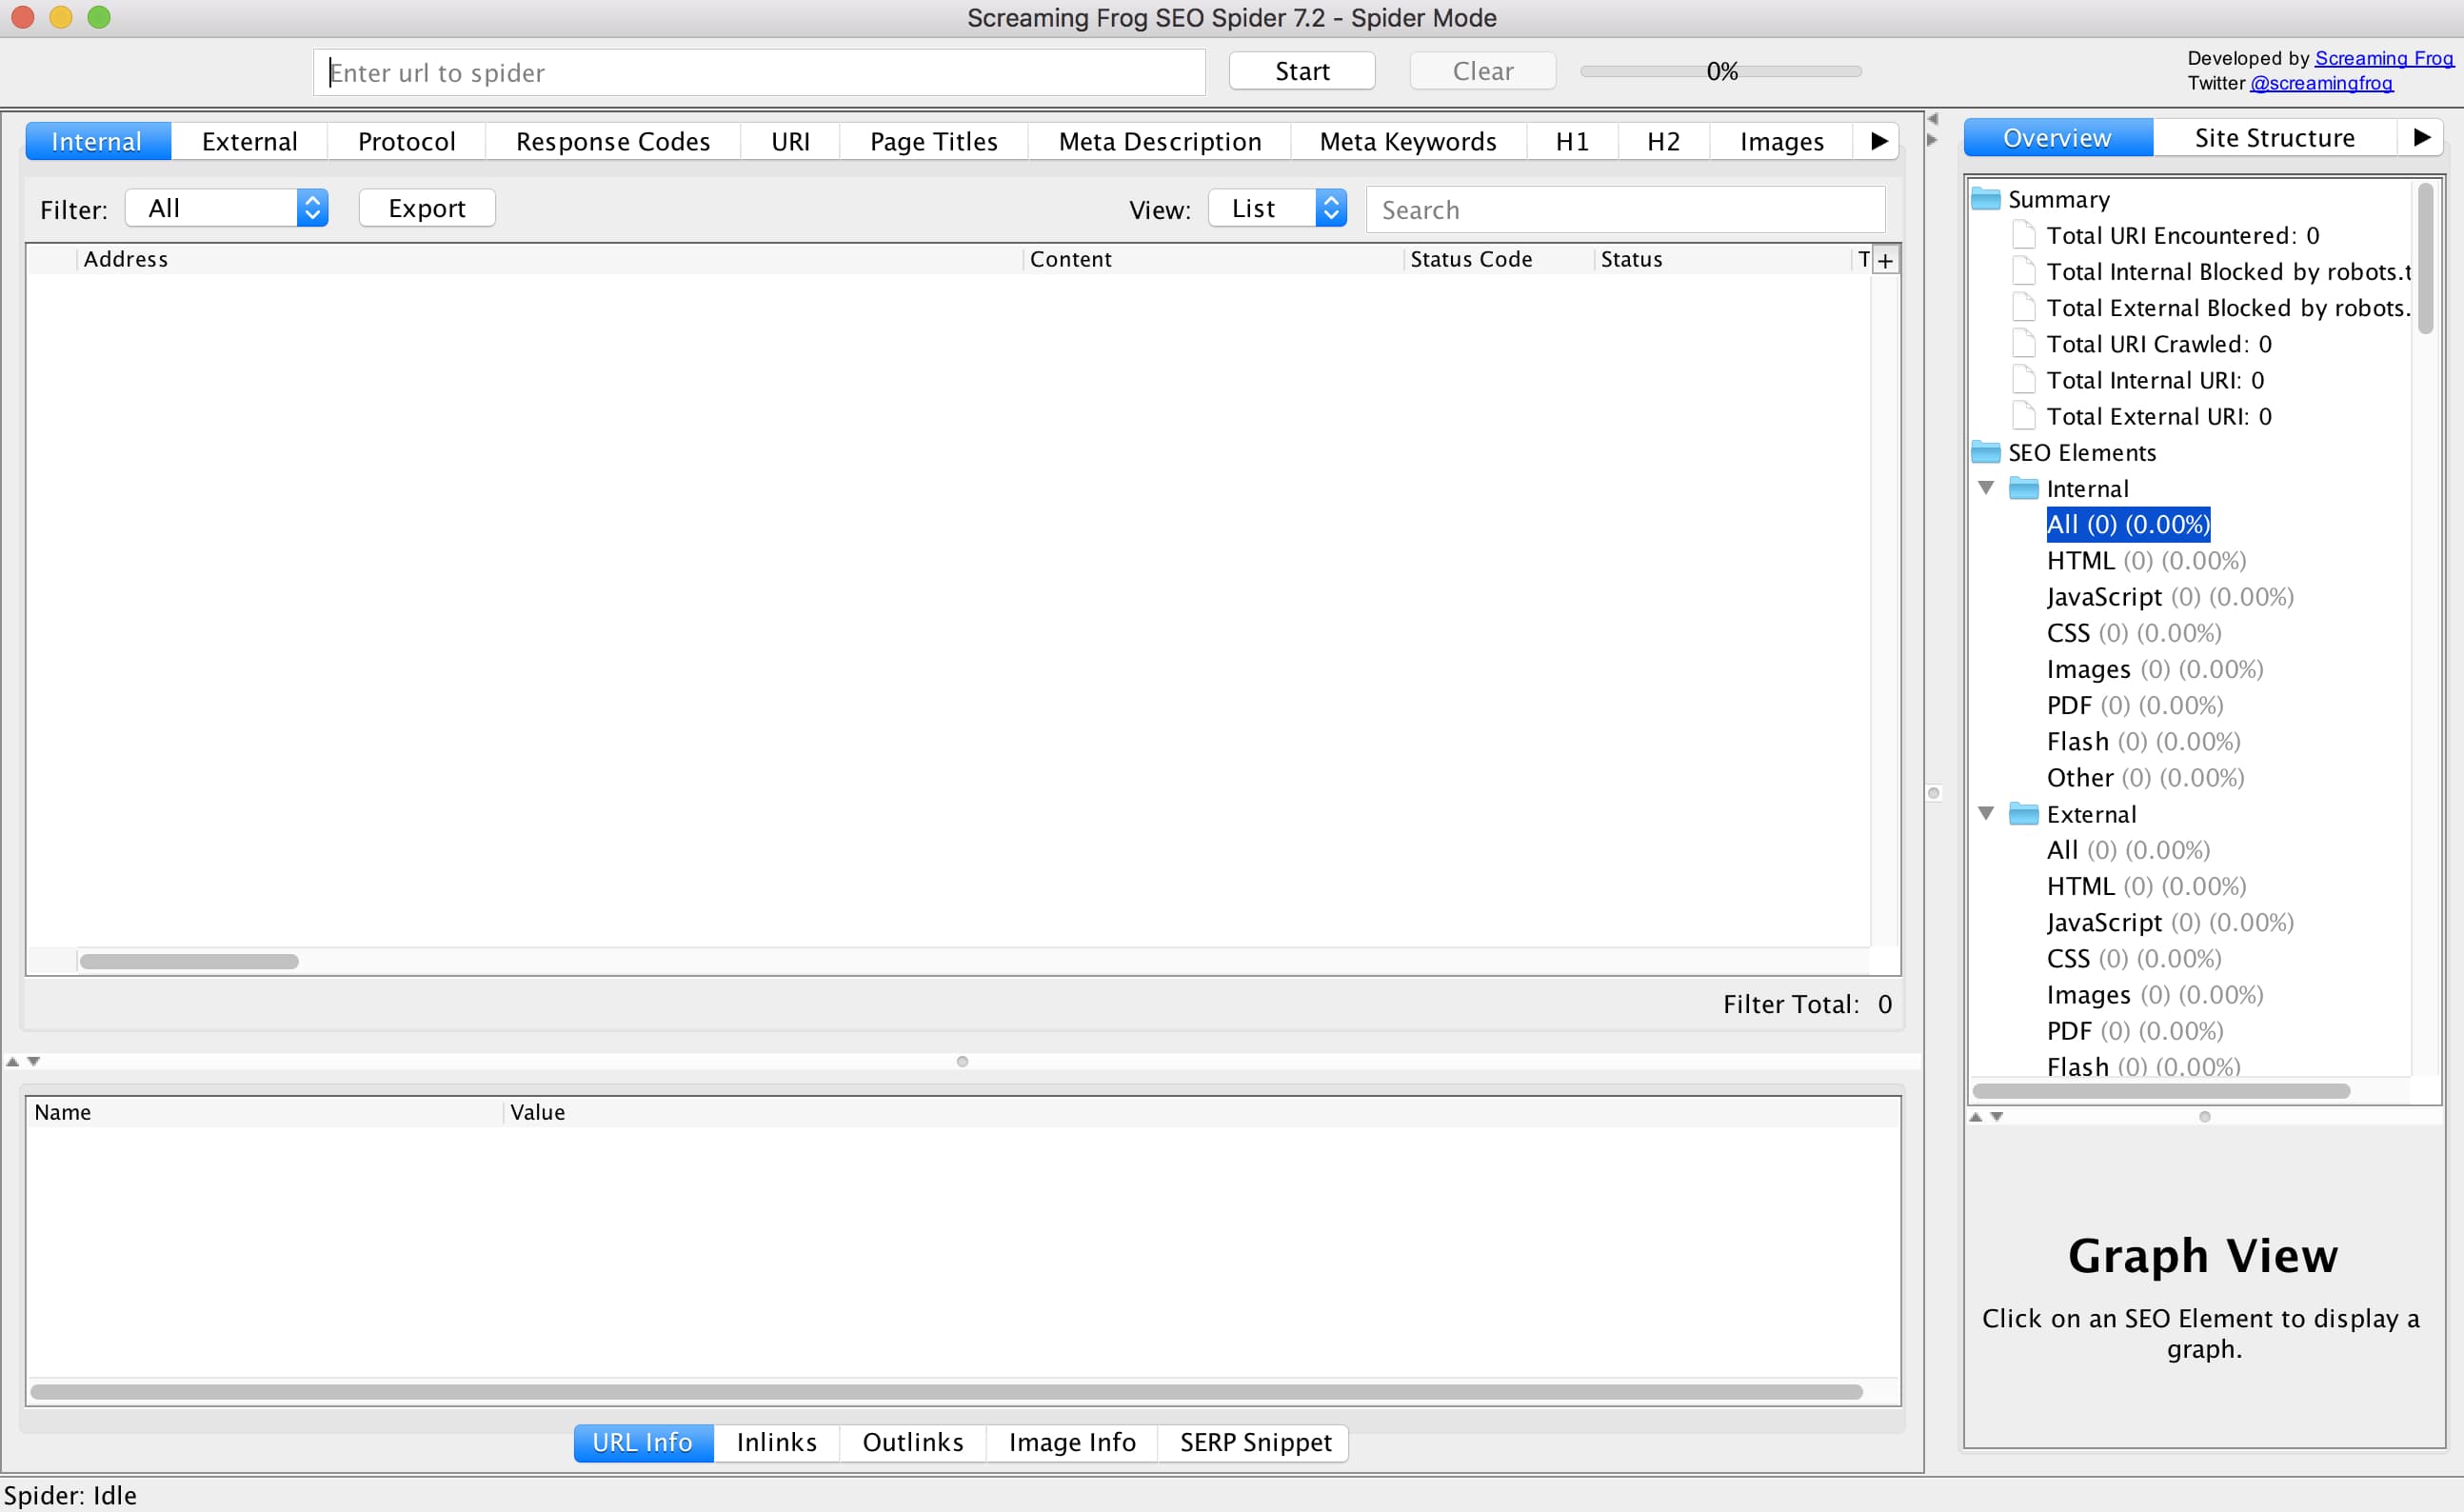
Start getting familiar with the software by doing some exploring. Look at the various aspects of a website that Screaming Frog SEO Spider has access to.
Once you feel comfortable, copy and paste the full URL of the website you would like to crawl into the search bar at the top of the dashboard. As an example, I’ll crawl our company website. Click the “start” button to begin crawling.

Step Two: Creating The Sitemap File
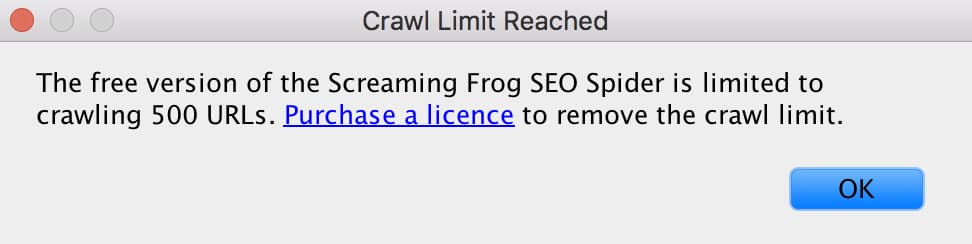
Depending on the size of the website you are trying to crawl, this may take a matter of seconds or minutes. It’s worth mentioning that the free version of Screaming Frog SEO Spider has a 500 URL crawl limit.
Once Screaming Frog SEO Spider has finished crawling the website, make your way to the top menu and look for “Sitemaps”. Hover over it, and then select “create images sitemap”.

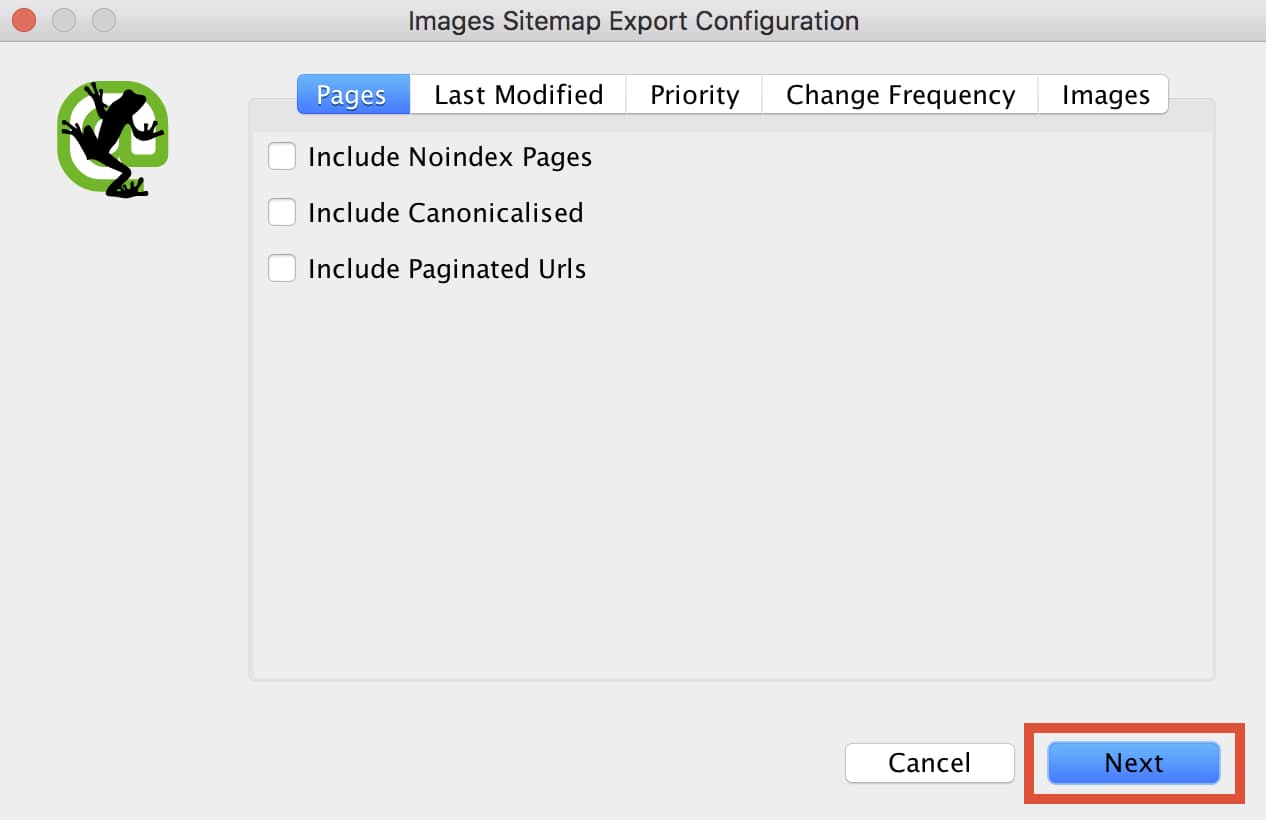
Next, a series of windows labeled “Images Sitemap Export Configuration” will appear. This is to help you set up the sitemap. You will be able to control what pages get included, the priority of the pages, and finally what images to include on the sitemap.XML file. As a default, only internal HTML pages with “200” status codes will be included in the sitemap file. Typically I leave these settings alone, but it’s always good to double check. Once you are happy with the settings, click “next” to generate the sitemap file (Seriously, it’s that easy).
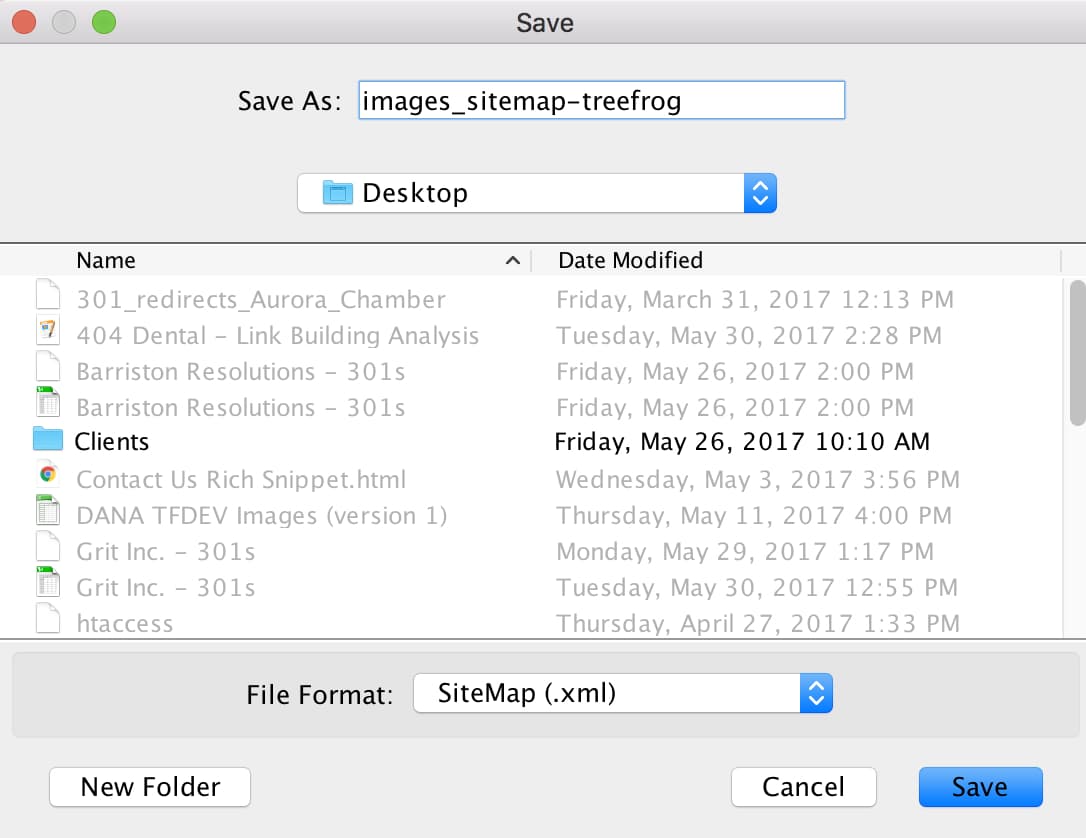
Rename your file to “images_sitemap-(client name).xml and simply save it to your desktop.
… And you’re done! You have just successfully created an images_sitemap.xml file that you can easily upload to your server to get noticed by search engines. In my next post, I’ll go over how to upload your sitemap.xml file to your server using FileZilla, and how to submit it to Google Search Console for proper indexing. If you have any questions about image XML sitemaps or SEO in general, feel free to leave a comment below or contact the SEO Team directly!
Until then!
– Matt