Contents
Improve your Photos!
In today’s digital world, everyone’s head seems buried in their devices, scrolling through Facebook and double tapping on Instagram. Naturally, you would then expect that your content would get in front of many eyes and be liked and shared by your followers. Unfortunately, this doesn’t happen often. People end up scrolling right past your content without a second glance. In fact, the average attention span is now only around 8 seconds! So how do you get someone to stop and pay attention to your posts? Eye-catching visual content.
- Tweets with images get 150% more retweets.
- Facebook posts with images get 2.3x more engagement.
- Organic engagement on Facebook is highest on posts containing photos and video.
With today’s technology, you can take impressive photos without spending a fortune on fancy equipment. Whether you have a high-end full-frame DSLR, a standard point-and-shoot, or a smartphone, these tips will help you get more creative with your photography and create visual content that speaks to your viewers:
1. Try New Angles/Perspectives

The average person takes a photo by standing directly in front of their subject and by taking the photo from eye-level. Now, there is nothing necessarily wrong with taking a picture this way, but it’s become extremely commonplace – there’s nothing unique or interesting about this angle unless the subject itself is interesting or unique.
The next time you pick up your camera, force yourself to shoot from a different angle. Get low to the ground and aim your camera upwards, or stand above your subject and aim your camera down. Shoot from the side, shoot from below, or find interesting perspectives upside down! Giving your viewers a new perspective will immediately draw some interest.
TIP: When shooting children or animals, get down to their eye-level rather than shooting from above. This can create a sense of intimacy in the picture – making the image feel more personal.
2. Follow the Light
The word ‘photography’ literally means ‘drawing with light’! Lighting makes a huge difference in the quality of your images, especially if you’re shooting with a smartphone. Before you raise your camera, look around you and notice where the light is coming from, as well as what type of light it is. If you’re shooting outdoors, acknowledge the position of the sun and the direction of the shadows that it casts. Shooting against the sun can create amazing sun flares and a warm, soft glow on your subject. Shooting in the direction of sunlight can create a bold look with harsh contrasts. You can position your subject so that the light only hits one side, or you can look for trees and buildings that create interesting shadows. If you’re working with artificial light, try positioning the lights in different places and see what kind of effect it gives you. The possibilities are endless!
3. Colours
Colours are often associated with different emotions: oranges are warm and inviting, while greens and blues tend to be calm. You can play around with different colours to get the mood that you are looking for in your image. You can also add that extra ‘pop’ to your pictures by looking for contrasting colours such as a green leaf against a red brick wall, or a white sail boat on blue waters. You can choose to look for strong, bold colours, subtle, pastel colours, or you can avoid colour all together and shoot monochrome images in black and white or sepia. Each of these options has its own way of bringing out different elements of an image. It’s up to you to decide what you think portrays your picture, and your message, in the best way. If you need some inspiration, take a look at the works of Ernst Haas, a master of colour photography.
4. Leading Lines
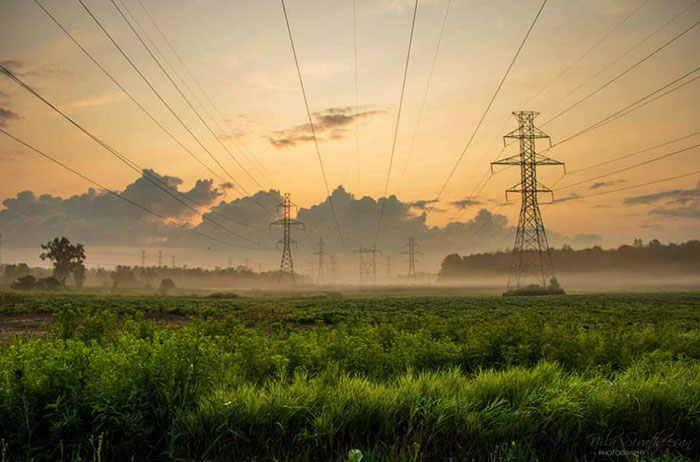
A great way to improve your photocomposition is with leading lines. Lines create a path for the eye to follow along your picture and can have different effects depending on their orientation and direction. Horizontal lines invoke a sense of restfulness and peace, whereas vertical lines create a sense of power, and diagonal lines suggest movement.
Before you shoot, take a moment to look at the scene in front of you and identify if there are any prominent lines that your eyes are naturally drawn to, such as roads, fences, buildings, rivers, or rows of trees. Once you identify your strongest lines, think about how you can use it to your advantage. You can create depth by positioning a strong line that leads from the foreground to the background, or you can place your subject at a point where several lines converge, giving your subject more importance in the frame and causing the viewer’s eyes to be naturally drawn there.
Leading lines can be used to tell a story, to place emphasis, or to draw a connection between two objects. Use them creatively!
5. Patterns

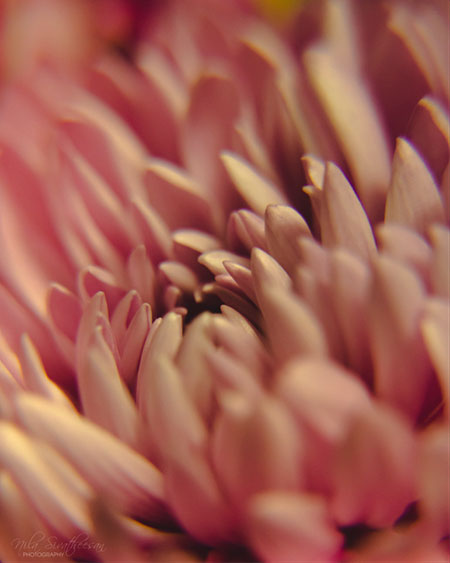
Look for repeating patterns or interesting textures when you are composing your next image. Patterns can be found everywhere – in nature and man-made constructions. You can use a pattern as the focal point of your picture, or you can use it as a backdrop. A great way to add interest to a picture is to break a pattern, such as a row of blue flowers with one red flower. This pop of inconsistent colour will immediately draw eyes to the object that doesn’t belong and this method can be quite impactful if used creatively.
6. Rule of Thirds
The Rule of Thirds is a composition technique that helps you to position your subject in the best spot when taking a picture. When you are taking your picture, imagine the frame as being split up into a grid of four lines as shown below.

7. Show Depth
A picture that shows a sense of depth is much more interesting and engages the viewer, inviting them to explore the scene rather than just to observe.
There are a number of different ways that you can add depth to your shots. You can add foreground interest by adding an object closer to the camera and a secondary object farther away. You can also use foreground objects to create a natural frame around your main subject. Photographing with a wider angle also creates a sense of depth by naturally exaggerating the perspective of a scene.
Another great way of showing depth is by layering objects in the frame. By overlapping objects, you help the viewer reconstruct the 3-D view in their mind, allowing them to mentally be ‘in’ the scene, rather than just seeing a photo of it.
8. Negative Space
Negative space is the ‘emptiness’ that surrounds the subject of interest, and making use of this space is a great way to add more emphasis on a subject and to evoke different moods. Negative space can provide context, it can create a sense of lightness or airiness, or it can emphasize the emotions of your subject.
Negative space is also important if you are planning on adding text to your image before posting it. You should always have a general idea of what you want your final post to look like before taking the image. Prepare ahead of time and be sure to leave enough space around your subject for texts and other graphic elements.


